
back to the blog
How to Bleed Motorcycle Brakes: A Step-by-Step Guide

Olivia C · January 15, 2025
Keeping your motorcycle's brakes in good shape is key to staying safe and making sure your bike performs as it should. Bleeding your brakes might sound a bit intimidating, but with the right tools and a bit of know-how, you can handle this at home. In this guide, we'll break it down step by step so you can keep your bike road-ready and running smoothly.
What Does It Mean to Bleed Motorcycle Brakes?
Bleeding your motorcycle brakes involves getting rid of air bubbles in the brake lines to keep your brakes working their best. Air can sneak in over time through leaks, old fluid, or repairs, making your brakes feel spongy or less responsive. Bleeding the brakes helps flush out the air and old fluid, keeping the hydraulic pressure spot-on for safe, smooth braking.
Why Bleeding Your Motorcycle Brakes Is Important
Keeping your brakes in top shape is essential for rider safety. Air in the brake lines weakens hydraulic pressure, leading to sluggish or weak braking. Bleeding the brakes restores proper pressure, giving you a firm, responsive brake lever and removing old, dirty fluid that can cause corrosion. Regular maintenance keeps your brakes performing reliably, decreasing your stopping distance and extending their lifespan. This could well save your skin!
Step-by-Step Instructions for Bleeding Motorcycle Brakes
To bleed motorcycle brakes, you'll need the following tools:
- Brake fluid (check your owner's manual for the correct type)
- A clear hose that fits over the bleed nipple
- A motorcycle toolkit
- A brake bleeding kit (optional but really helpful)
- A spanner or wrench
- A container to catch old brake fluid
- Clean rags for wiping spills
Once you've prepped the above, follow the steps below to bleed your breaks. Remember, if you aren't confident, always get in touch with a mechanic.
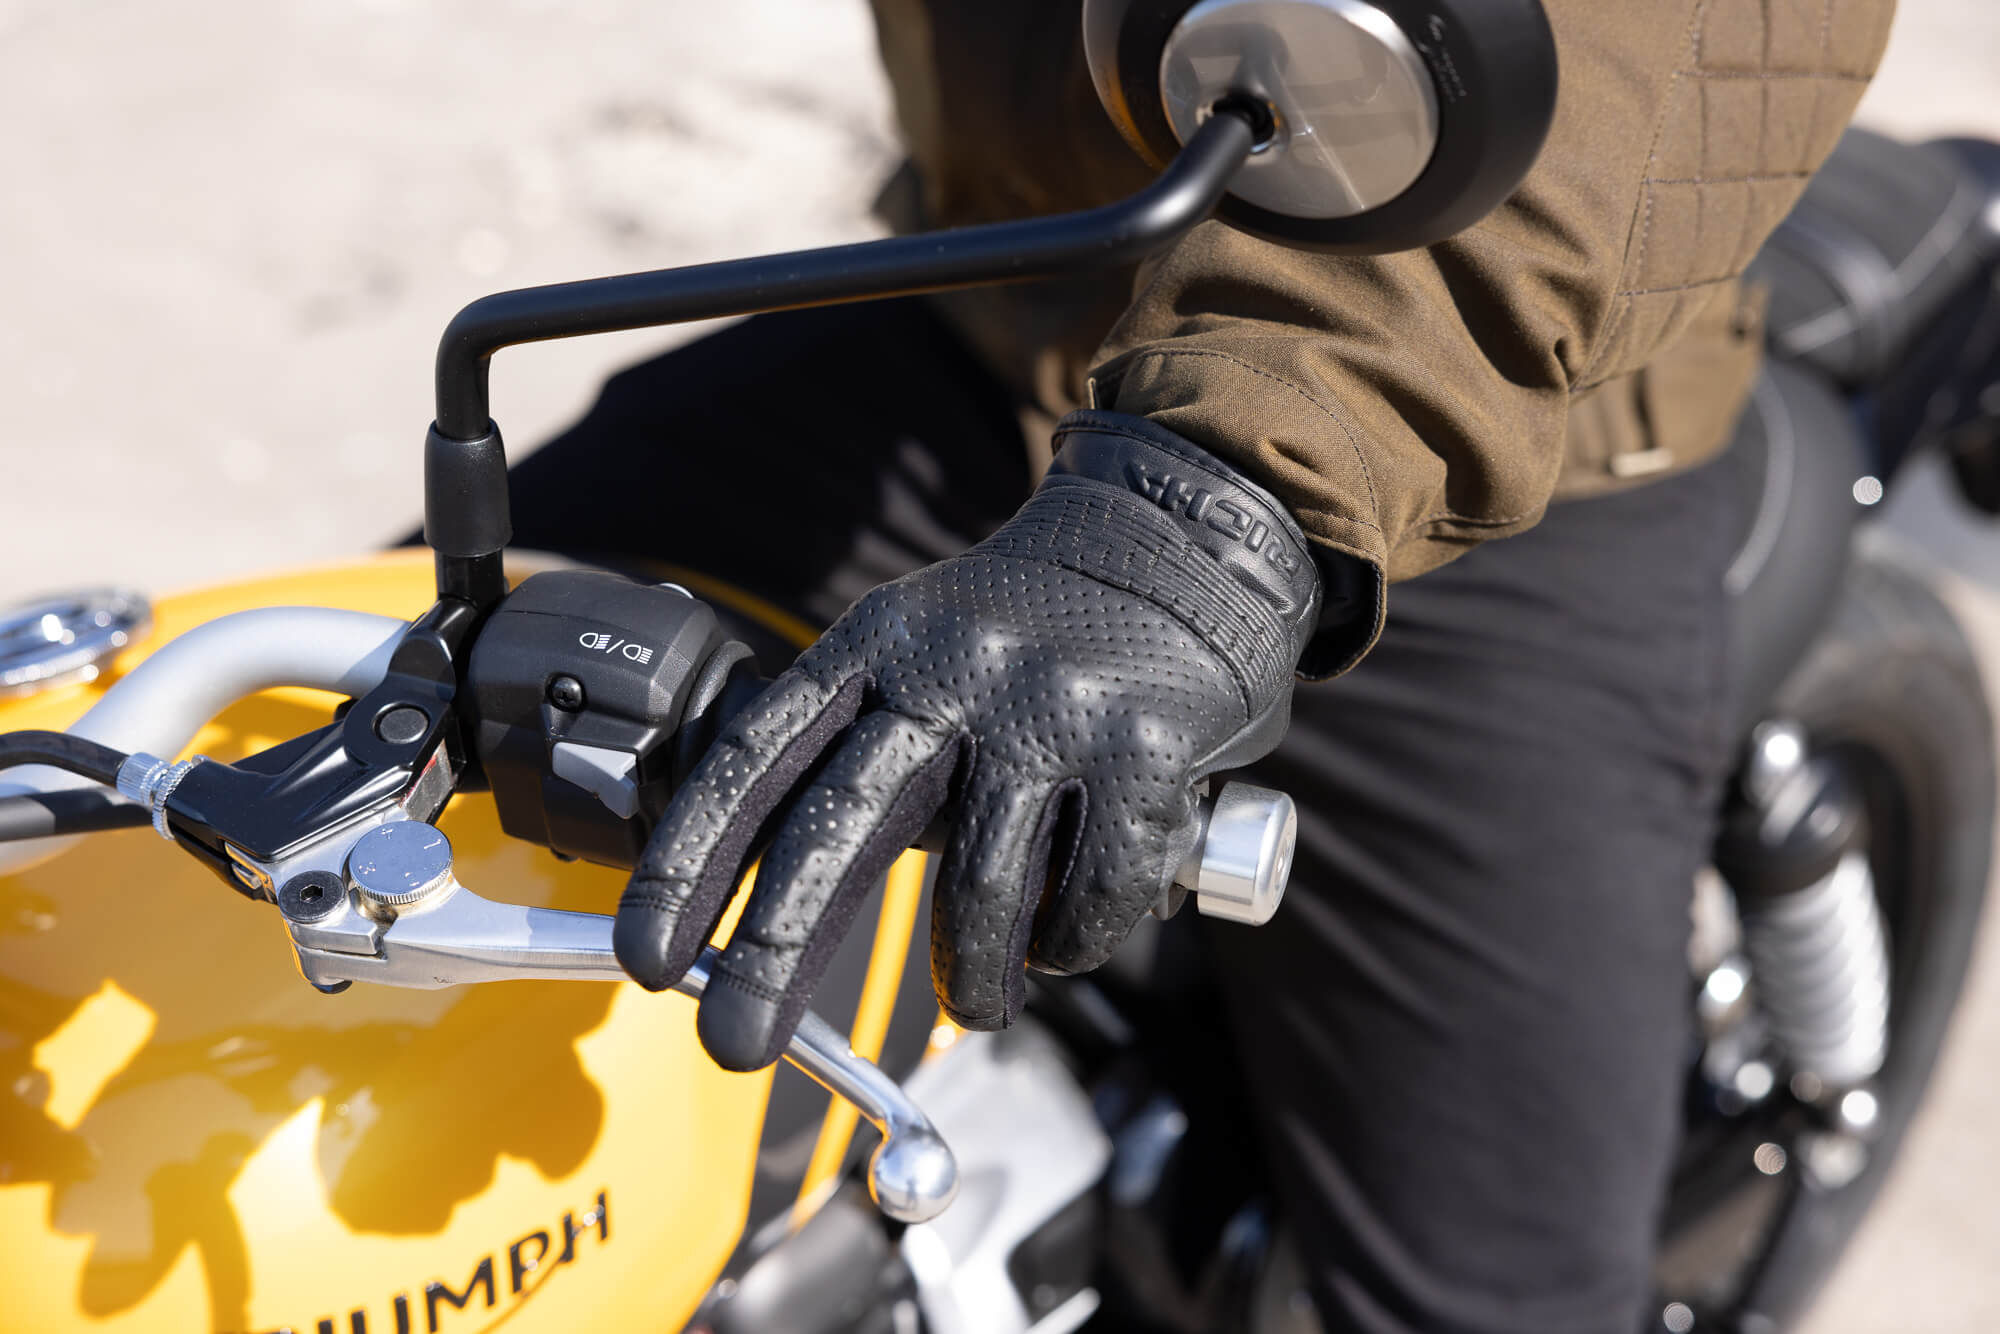
Step 1: Loosen the Bleeder Valve
Locate the bleeder valve on the brake calliper. Use a spanner to loosen it slightly while making sure the hose is securely attached to prevent spills. This valve allows old fluid and trapped air to escape when the brake lever is pressed.
Step 2: Pump the Brake Lever or Pedal
Pump the brake lever (or pedal for rear brakes) multiple times to build pressure. Hold it in a compressed position as you loosen the bleeder valve. This forces air and old brake fluid out through the hose. Tighten the valve before releasing the lever to prevent air from re-entering.
Step 3: Check and Refill The Brake Fluid
Keep an eye on the fluid level in the brake reservoir. Refill it as needed using the correct type of brake fluid specified in your owner's manual. Low fluid levels can introduce more air into the system, so it's crucial you maintain a consistent level throughout this step.
Step 4: Repeat the Process and Finalise
Repeat the bleeding process until no air bubbles appear in the fluid exiting the hose. Once the brake lever feels firm and responsive, tighten the bleeder valve securely. Reassemble the brake reservoir, clean any spilt fluid, and test your brakes before riding.
Common Mistakes to Avoid When Bleeding Brakes
- Using the Wrong Brake Fluid: Always use the fluid type recommended in your owner's manual to avoid messing up your brake system.
- Allowing the Reservoir to Run Dry: This invites more air into the system, making the process longer and less effective.
- Not Tightening the Bleeder Valve Properly: Failing to securely tighten the valve can risk leaks and letting air sneak back in.
- Skipping Regular Maintenance: Not carrying out routine brake maintenance is how small issues turn into more costly repairs down the line.
How Often Should You Bleed Your Motorcycle Brakes?
It's generally recommended you bleed your motorcycle brakes every 1-2 years or whenever the brake fluid looks dark or murky. If you ride in tough conditions or push your bike hard, you might need to do it more often. In any case, regular bleeding keeps your brakes working their best and ensures safe, reliable stopping power.
Signs Your Motorcycle Brakes Need Bleeding
- Spongy Brake Lever: If the lever feels soft or lacks resistance, there may be air in the brake lines.
- Delayed Braking Response: A slow or weak braking response indicates reduced hydraulic pressure.
- Discolored Brake Fluid: Dark or cloudy fluid is a sign of contamination and needs replacement.
- Leaking Fluid: Visible leaks around the callipers or reservoir suggest potential air entry into the system.
Not done your CBT yet? Find a local course, get your training booked in, and get riding on a 125cc bike.
FIND NEAREST CBTFAQs
How Long Does It Take To Bleed Motorcycle Brakes?
Bleeding motorcycle brakes typically take 30-60 minutes, depending on your experience and the condition of the brake system. For first-timers, allow extra time to familiarise yourself with the process.
How Do You Bleed Motorcycle Brakes From Empty?
To bleed brakes from empty, fill the reservoir with fresh fluid and follow the standard bleeding process. But, you may need to bleed each calliper multiple times to ensure all air is removed from the empty lines.
How Do You Get Air Out of Motorcycle Brake Lines?
To remove air from brake lines, pump the brake lever and loosen the bleeder valve to release fluid. Air bubbles will flow out through a clear hose attached to the valve. Keep repeating until no more bubbles are visible, ensuring the system is air-free before finishing.
Can You Pressure Bleed Motorcycle Brakes?
Yes, pressure bleeding can be used for motorcycle brakes. This method involves using a specialised tool to force brake fluid through the system, effectively removing air. It's a quicker and more efficient method but needs specific equipment, so is less beginner-friendly.